
 English
 Español
 عربى
عربىThe Plastic Thin Space Cup Mould represents an innovation in the manufacturing o...
-

+86-15068654601
-

No.62 Zhao Feng Road, Huangyan, Taizhou, Zhejiang, China
+86-15068654601
No.62 Zhao Feng Road, Huangyan, Taizhou, Zhejiang, China
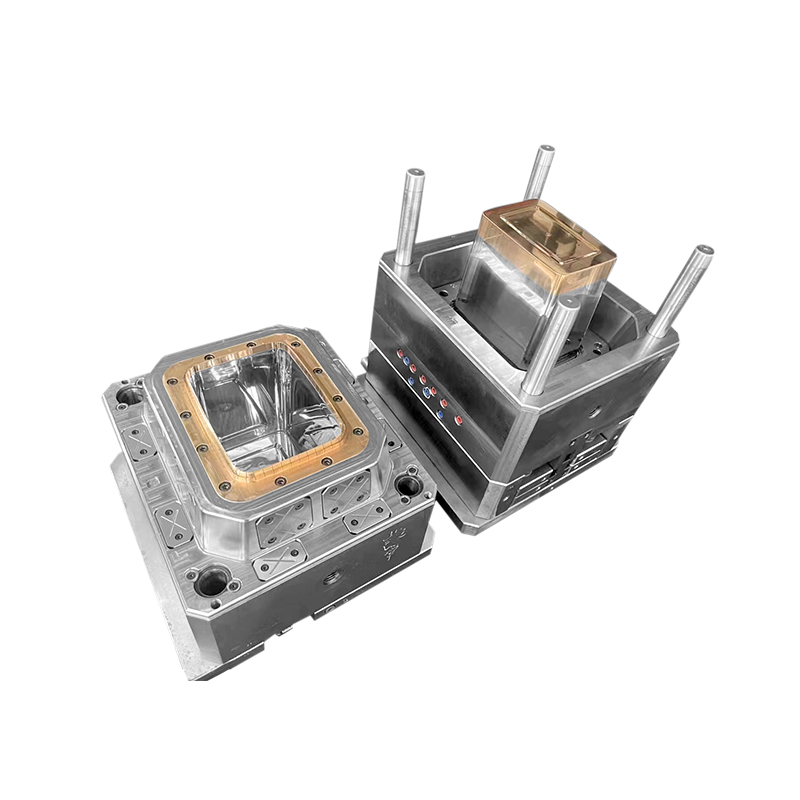
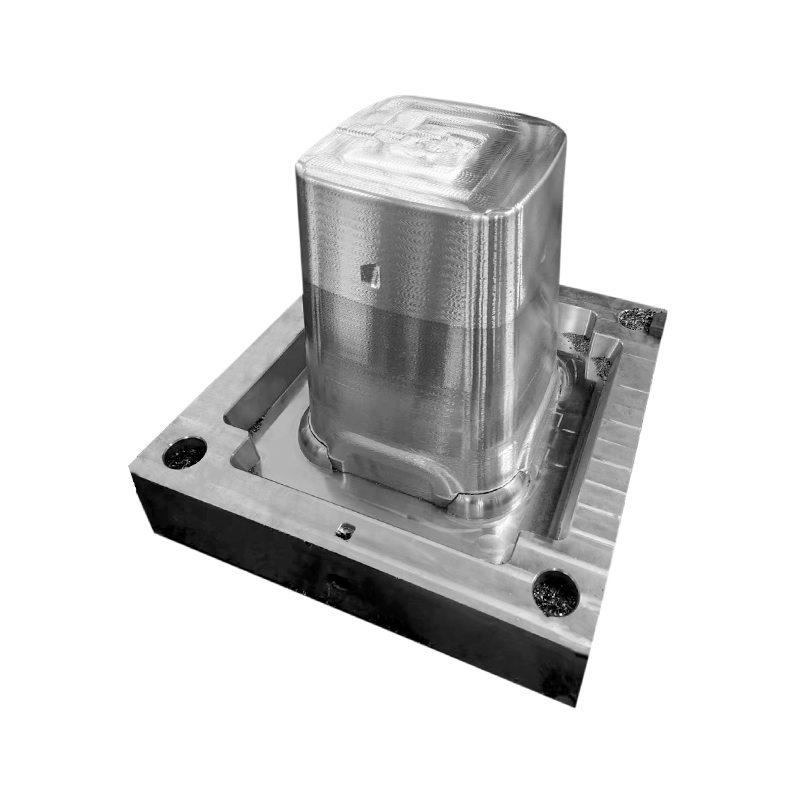
Walk through any hardware store. You see plastic pails in every aisle. Paint pails. Putty pails. Joint compound pails. Pickle pails. All of them started as plastic pellets and ended as containers. Between those two states is a pail bucket mould. This is the steel tool that shapes molten plastic into the familiar bucket shape. One mould can produce millions of buckets before it wears out. The quality of the mould determines whether every bucket in the run has straight walls, a flat bottom, and a handle that stays attached.
The mould creates the bucket shape from the rim to the handle bosses
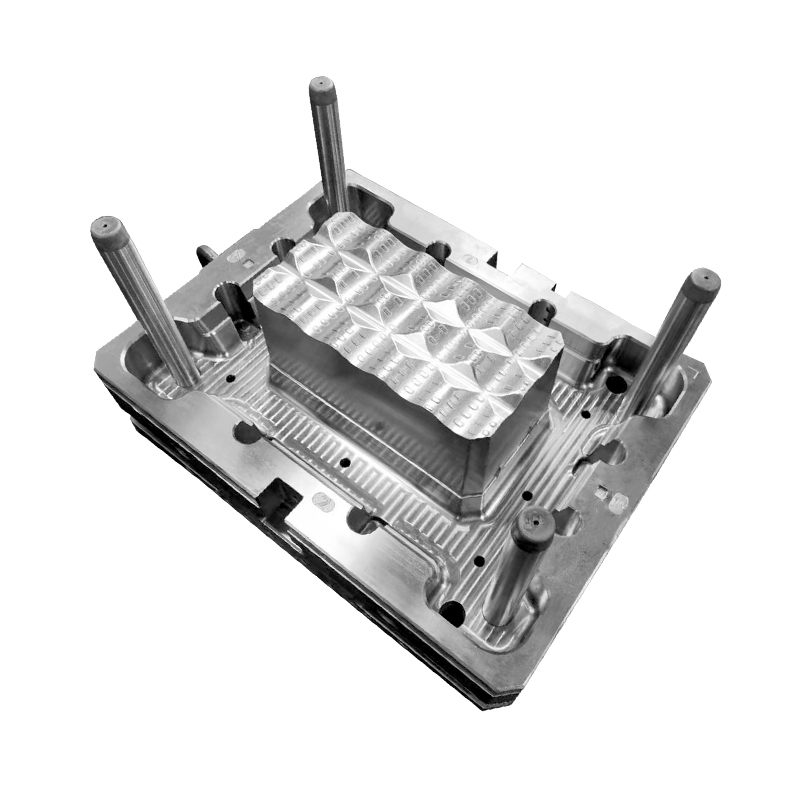
A pail bucket mould is a two-part steel tool. One half forms the outside of the bucket. The other half forms the inside. The two halves close together. Molten plastic is injected into the cavity between them. After the plastic cools, the mould opens. The finished bucket drops out or gets removed by a robot arm.
The mould includes features for every part of the bucket. The rim gets a reinforced lip. The handle bosses get holes for the wire handle. The bottom gets concentric rings that stiffen the base. A good pail bucket mould places these features precisely so every bucket is identical.
The mould needs cooling channels to control solidification
Plastic shrinks as it cools. The shrinkage is not uniform. Thick sections shrink more than thin sections. A pail bucket mould with poorly placed cooling channels produces warped buckets. The bottom bulges. The rim is not round. The bucket wobbles on a flat surface.
Good moulds have cooling channels machined close to the cavity surface. Water or oil circulates through these channels. The cooling pulls heat out of the plastic evenly. The bucket solidifies without warping.
Wall thickness consistency prevents weak spots and handles stacking
A pail bucket needs thick enough walls to hold weight. But thick walls cost more material. A pail bucket mould designed for thin walls saves material but risks weak spots where the wall gets even thinner. These weak spots crack when the bucket is dropped.
Consistent wall thickness also helps buckets stack. Slightly tapered walls let one bucket nest inside another. If the taper angle varies, buckets jam. A pail bucket mould with precise taper allows smooth nesting for storage and shipping.
Here is what a well-designed pail bucket mould produces:
The gate is where molten plastic enters the mould cavity. A pail bucket mould with a poorly placed gate creates visible weld lines on the bucket surface. Weld lines happen where two flow fronts meet and do not fully bond. The weld line is weaker than the surrounding plastic. Buckets with weld lines at the handle boss crack when lifted.
Good moulds place the gate at the bottom center of the bucket. Plastic flows up from the bottom. Weld lines are small. The bucket surface looks clean.
Injection pressure packs the cavity to prevent sink marks
Sink marks are small depressions where thick sections shrink more than surrounding areas. The handle boss is thicker than the wall. Without enough injection pressure, the boss shrinks and leaves a visible dimple on the outside of the bucket. A pail bucket mould used with high injection pressure and long hold time eliminates sink marks.
The pressure needs to stay on the plastic while it cools. Too much pressure stresses the mould. Too little pressure leaves sink marks. Moulders find the balance through testing.
Ejector pins push the finished bucket off the mould
When the pail bucket mould opens, the bucket sticks to one half. Ejector pins extend from the mould face and push the bucket off. The pins leave small marks on the bucket bottom. These marks are normal. Excessive marks mean the pins are too aggressive or the bucket is sticking too much.
Sticking happens when the mould surface is rough or when the cooling time is too short. A polished mould surface releases the bucket easily. A rough surface grabs. Pail bucket mould manufacturers polish the cavity surfaces to a mirror finish.
Premature wear leads to flash and dimensional drift
A pail bucket mould made from low-grade steel wears out quickly. The cavity surface erodes. The parting line where the two mould halves meet wears down. Plastic leaks through the worn parting line. This leaking plastic is called flash. Flash on the bucket rim makes the lid fit poorly. Flash on the bottom looks ugly.
Dimensional drift happens as the mould wears. Buckets from a worn mould are not round. They do not stack. They do not seal. The mould is scrap at that point.
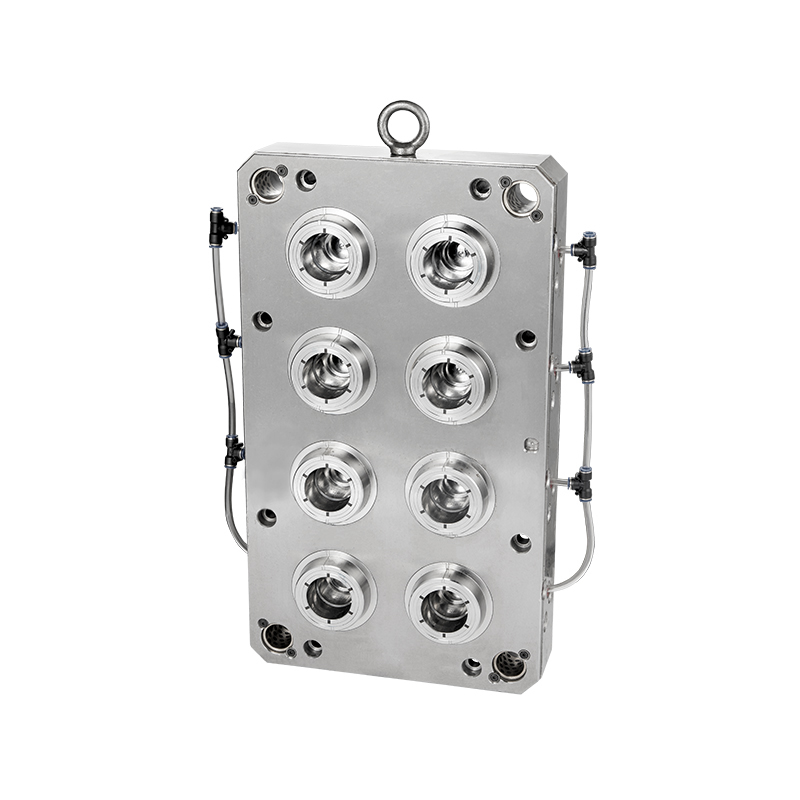
Cooling channels corrode and stop working effectively
Water circulating through cooling channels corrodes the steel over time. Corrosion products block the channels. Water flow stops. The pail bucket mould runs hotter. Cycle time increases. Production slows. Moulds with plated or stainless steel cooling channels resist corrosion longer.
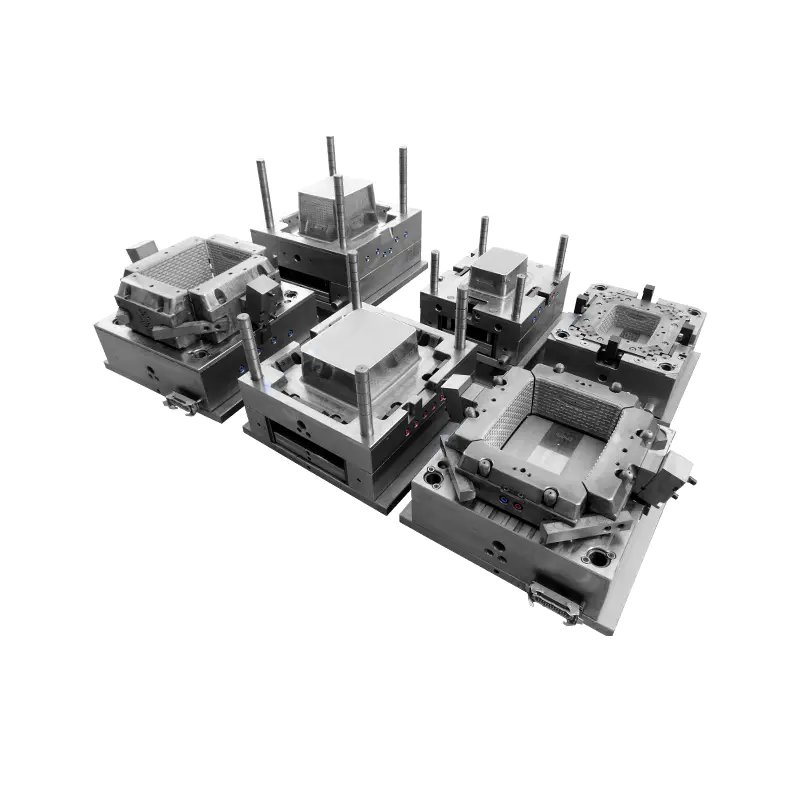
A pail bucket mould is an expensive tool. A good one costs tens of thousands of dollars. But that mould produces millions of buckets. The cost per bucket is pennies. A cheap mould costs less upfront. It wears out faster. The buckets have flash and warp. The mould is scrap after a few hundred thousand cycles. Pay for quality steel, precise machining, and proper cooling. Your bucket line depends on it.
The Plastic Thin Space Cup Mould represents an innovation in the manufacturing o...
Our Food/Beverage Plastic Crate Mould is meticulously designed to meet the diver...
In the realm of plastic furniture storage solutions, our injection mould stands ...
In the realm of contemporary furniture design, the Durable Plastic Rattan Stool ...
Taizhou Huangyan Edge Mould Co., Ltd.
Phone: +86-15068654601
Email: [email protected]
Address: No.62 Zhao Feng Road, Huangyan, Taizhou, Zhejiang, China
Copyright © Taizhou Huangyan Edge Mould Co., Ltd. All Rights Reserved.